


The HTC U11 is the best phone HTC has put our since the HTC One M8. It’s sleek, gorgeous, fast and captures stunning photos. If you haven’t read our full review yet or taken a peek at what the camera can do, we highlight suggest that you do.
If you already own the HTC U11, this article was created just for you – highlighting our favorite tips & tricks for HTC’s 2017 flagship smartphone. Since we all like to consume content in different ways, we’ve created a video walk-through as well which will go over every item featured below.
We know that our list doesn’t cover every single feature found on the HTC U11, so make sure you share any additional tips & tricks that we may have left out in the comments below.
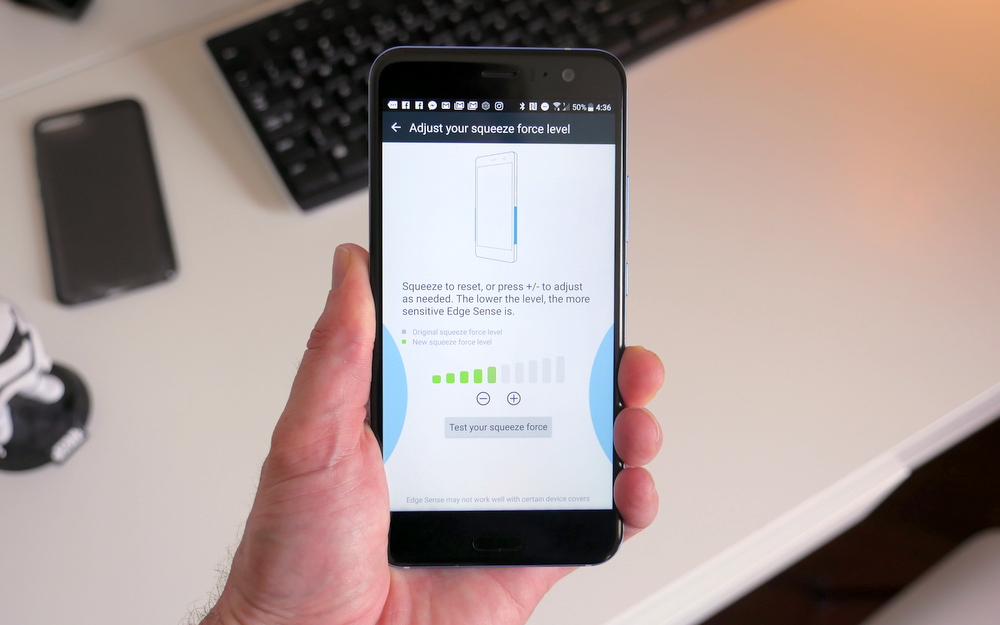
1. Set up Edge Sense
The one feature you get with the U11 what you won’t get on any other phone is the ability to open apps or change settings just by squeezing the phone. HTC calls this new feature Edge Sense and it can be turned on by going to Settings > Edge Sense. There’s a toggle to turn it on or off, but when you open up Edge Sense you’re given options to customize the feature.
I recommend enabling the advanced mode which it gives you the option to customize a short squeeze and a long squeeze action. You should also adjust the squeeze level to your liking to make sure you’re not triggering edge sense every time you pick up your phone.
Once that’s done, just select the apps you want to launch or settings you want to change with the long and short squeezes and then you’re set. It even works when the display is off. I have my short squeeze set to launch the camera and the long squeeze set to open the Plume – the two apps that I use the most.
2. Take better selfie with Edge Sense and the main camera
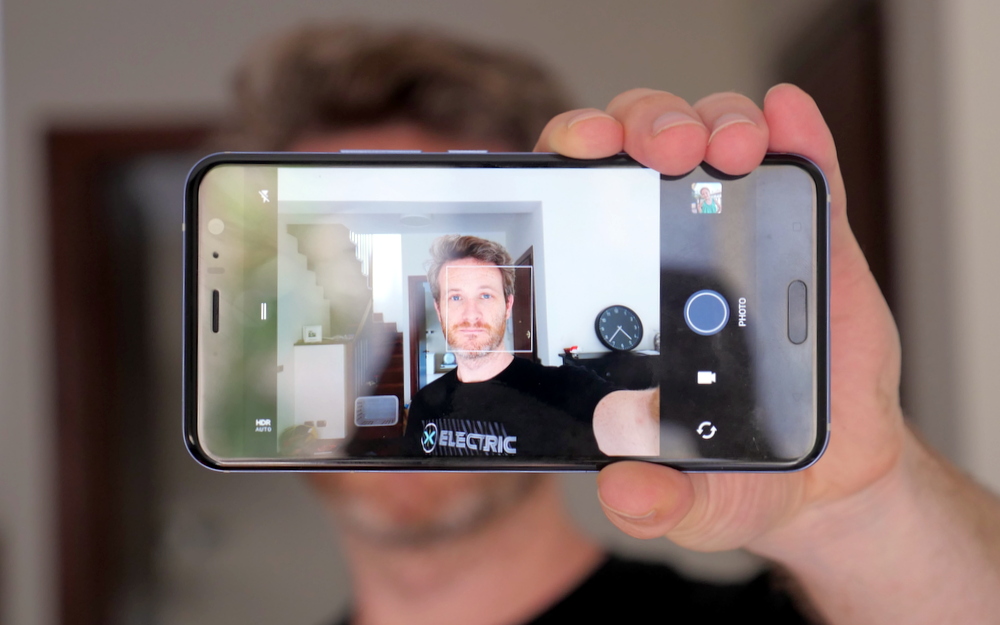
As you already know, the 16MP selfie cam can take pretty good shots. The problem is, it’s not anywhere near as good as the main camera, especially in low light. Thankfully, the phone’s mirror finish and Edge Sense are the perfect combination, allowing you to snap the perfect selfie with the main camera. Just open the camera app, flip your phone around and then squeeze the edges to snap the picture.
For perfect alignment, adjust the camera so that your nose is centered over the camera lens. It works perfectly in portrait or landscape mode, giving you a perfectly centered selfie with your front facing camera every time. I still use the selfie camera quite a bit, but I use this technique for low light selfies or when I know I want to share the picture with friends or on social media.
3. Turn on night mode
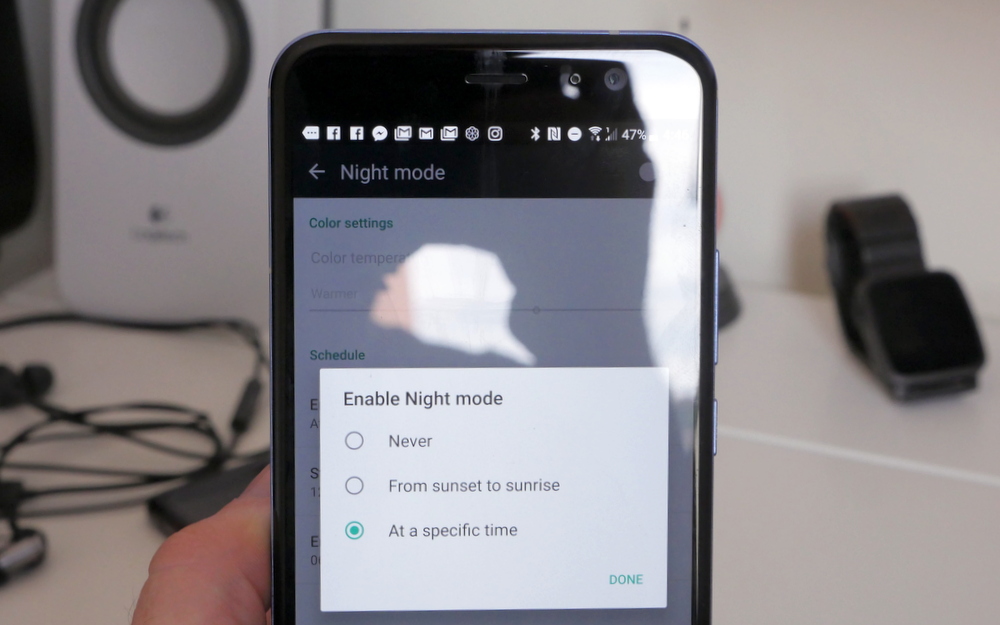
If you use your phone before going to bed, you’ll want to enable Night mode which reduces the blue light emitted by the screen since studies show that blue light exposure before sleep makes it harder for people to fall asleep.
Jump into Settings > Display Gestures and Buttons and then tap Night Mode
Here you can adjust the color temperature to your liking and then choose when Night mode will kick in. there’s a sunset to sunrise setting or a specific time option. You can also turn it on an off manually with a quick toggle if you don’t want it to turn on automatically. It’s really up to you.
4. Set up Motion Launch Gestures
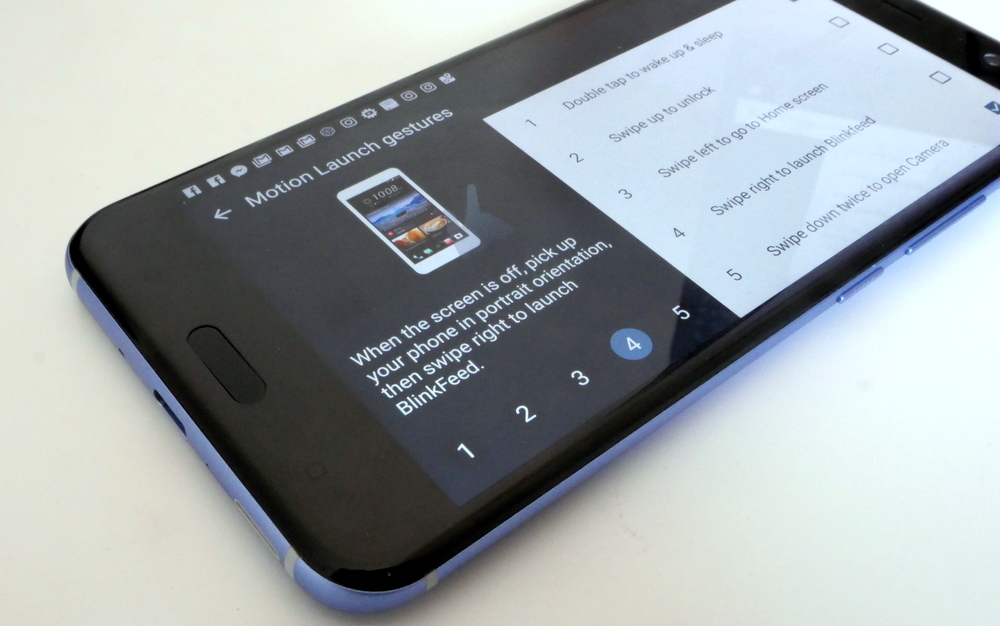
HTC’s gesture controls have been around for a few years, but I’ve found that many HTC users have no clue they are there. These controls allow you to unlock the phone in a specific way when the phone’s display is off.
Go to Settings > Display gestures and buttons and select Motion launch gestures at the very bottom
You can tap the numbers at the top to learn about each specific Motion Launch gesture. The only two I use are the double tap to wake and swipe down twice to open camera since the others are pretty pointless when you have a lock screen enabled on the phone.
5. Set up your USonic audio profile
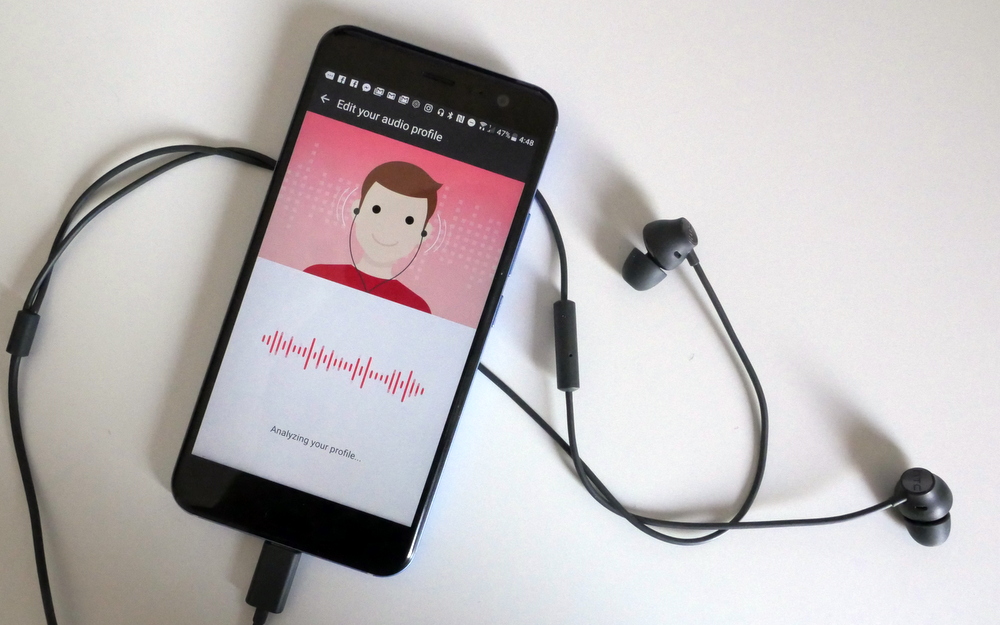
The U11 may not have a 3.5mm headphone jack, but the USB C headphones that come with it are unique. In addition to supporting active noise cancellation, they can be tuned specifically to your ear canal with a custom audio profile. And it’s easier than you think.
Jump into Settings > HTC USonic with Active Noise Cancellation and press the plus icon up top. Make sure the headphones are plugged into the phone and snug in your ears and then “press start scanning now.” The automatic tuning process takes less than 5 seconds, using microphones in the earphones to listen to the audio feedback form your ears to create a better sound profile that’s perfect for you.
Once it’s done, give your USonic profile a name and then enjoy better audio every time the earphones are plugged in.
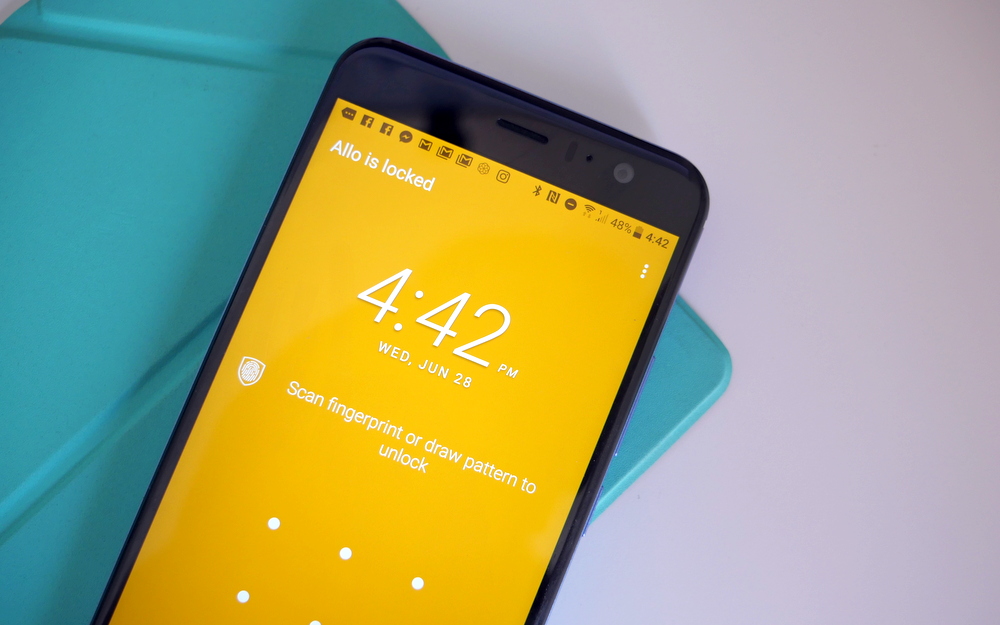
6. Secure your phone with the fingerprint scanner
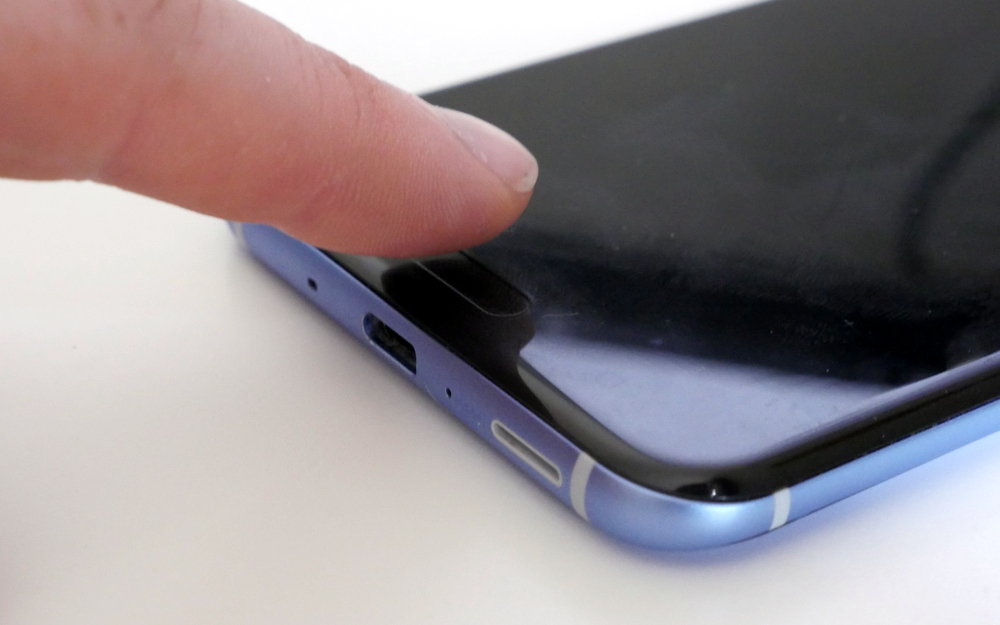
One of my favorite features of the HTC U11 is its fingerprint scanner. It allows you to keep the content of your phone secure without you having to enter an unlock pin or pattern every time. It’s also super quick and more reliable than fingerprint scanners on the Samsung Galaxy S* and LG G6 in my experience.
To activate it, go into Settings > Fingerprint scanner. To use the feature you will need an unlock pin or patter unlock as a backup. Once you have that setup, you can then add up to five fingerprints to unlock the phone.
I recommend using both thumbs and both index fingers, giving you the ability to unlock the phone with both hands weather you’re holding it or if it’s just sitting on the desk. The best part is that it works instantaneously when the phone is locked and the display is off, allowing me to jump right back into the last thing I was doing in less than a ¼ second.
7. Restrict app access with Boost+
Keep your phone locked with your fingerprint, pin or lock pattern is extremely important, but that doesn’t help keep your content secure when you’re handing your phone off to friend to make a call or to your kids for playing games.
Fortunately, HTC’s thought of that and allows you to lock down specific apps with its Boost+ app. Open the app from the app drawer and then tap on Lock apps. You’ll need to scan your fingerprint or enter your unlock pattern and then you can choose which apps to lock down. If you want, you can change the lock pattern to be different from the pattern you use to lock the phone.
Now, when the apps you locked are opened, the user will need your fingerprint or the unlock pattern before they can access the app and its content. This is great for locking up sensitive information or games which may be inappropriate for young children.
8. Optimize apps to Increase battery life with Boost+
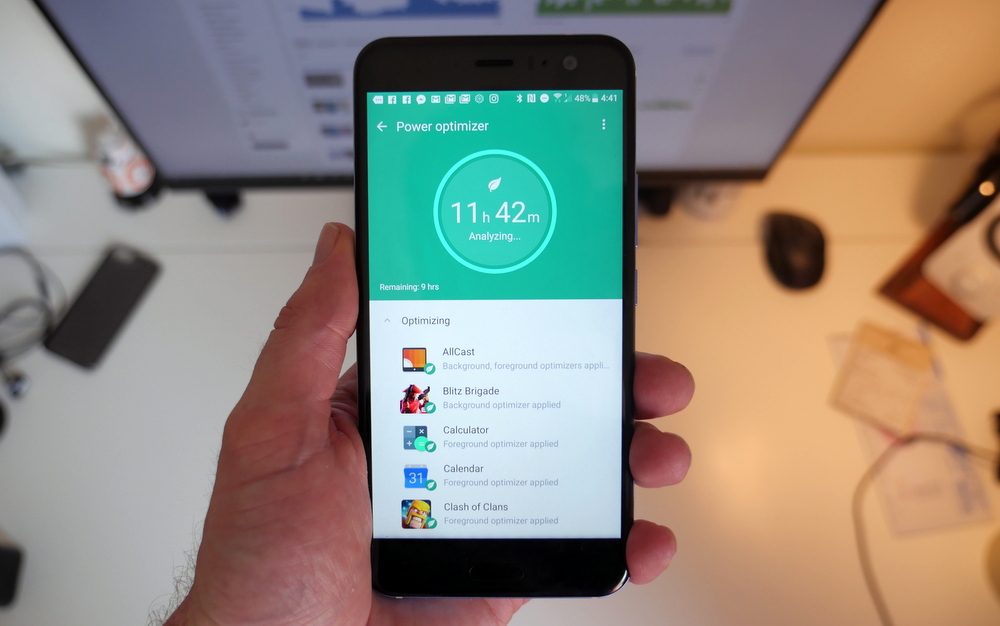
The Boost+ app can also be used to optimize battery performance on the U11. Open the app and tap Power optimizer. You can then select the apps that you want to optimize. You get two options for optimization, background and foreground. Foreground optimization is best for apps that you use on a regular basis, but you can select both options for every app you want to optimize.
Boost+ will also pop up from time to time will app optimization suggestions and will show you how the optimization should affect your battery life.
9. Be more productive with split-screen multi-tasking
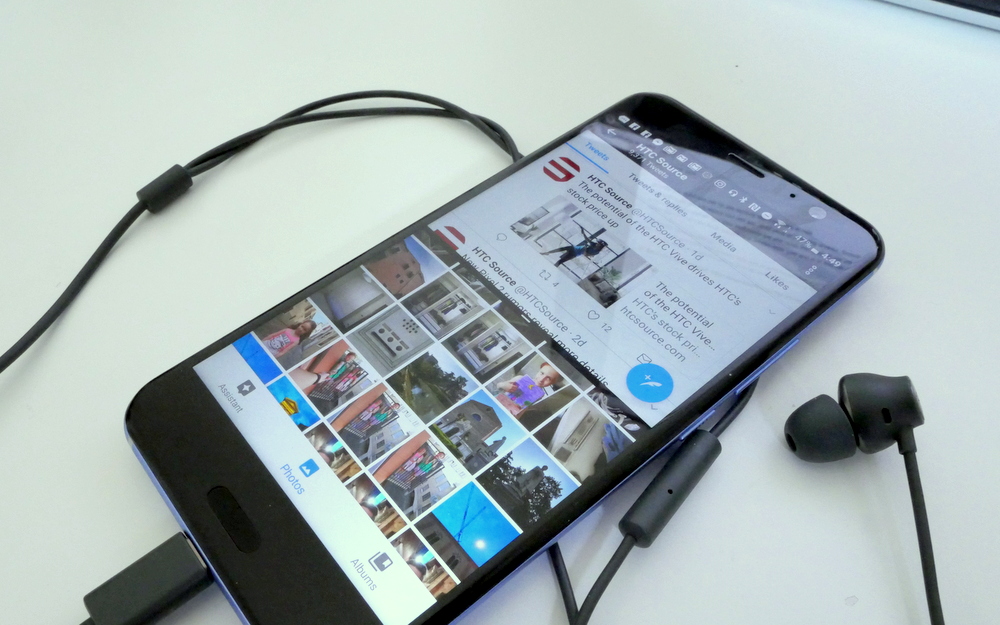
If you’re not aware, phones running on Android Nougat now support split-screen multitasking. This only works if a developer has updated their app to support the new feature, but many of the mainstream apps already do.
There are two ways the jump into the split screen view. The first is to just tap the multitasking button below the display and then long press the app what you want at the top of the split screen and drag it to the top where you see the “drag here to use split screen” prompt. Then, scroll through the apps and tap on the second app you want to use.
But there’s a second option as well. If you already have the main app that you want open, you can just long press the multitasking button and the app you had open will get pinned to the top so all you have to do is select the second app.
When you’re done multi-tasking, just slide the separator line up or down.
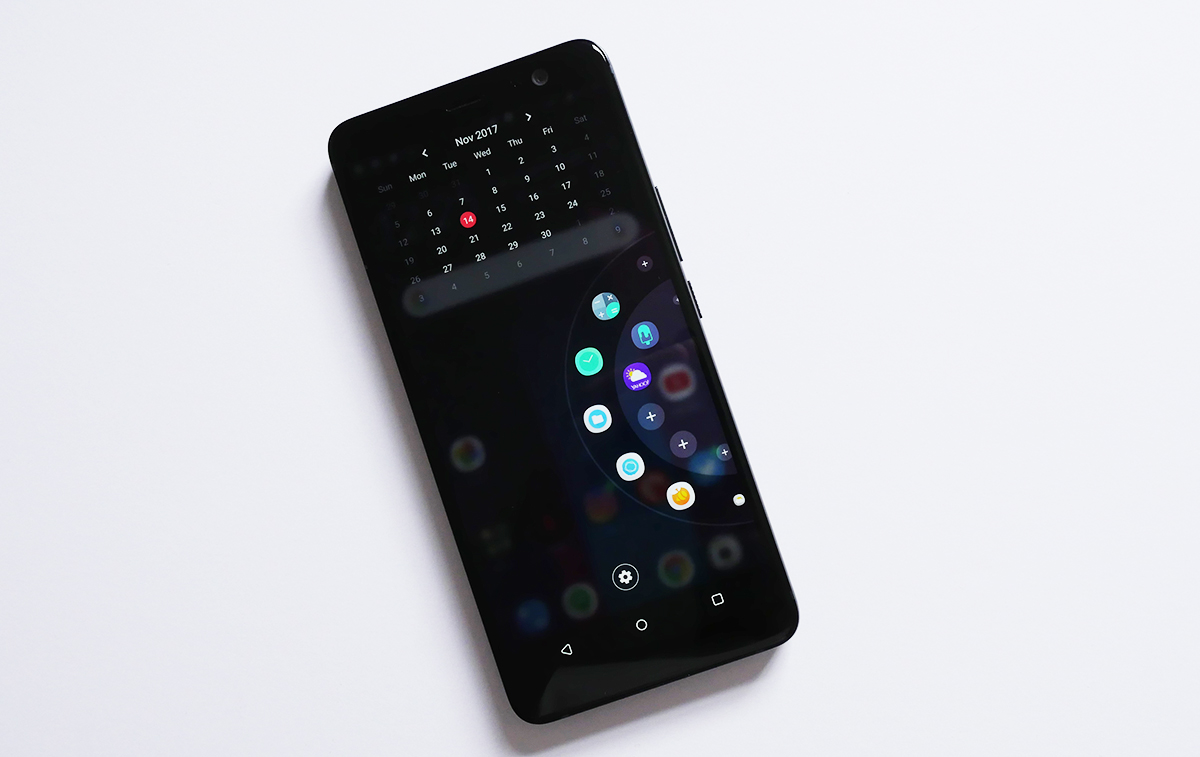
10. Customize BlinkFeed with your personal content

HTC’s BlinkFeed built into the HTC Sense launcher is pretty neat. It can aggregate content from news sites, social media feeds, your calendar, and while lot more. To view BlinkFeed, just swipe over to the panel to the left of your home screen. To customize the fed, tap the hamburger menu in the top left and then hit the plus icon to view the content sources available.
BlinkFeed isn’t perfect, but it’s a great way to mindlessly catch up on your social media and news feeds without having to jump into multiple apps.
11. Add or remove BlinkFeed
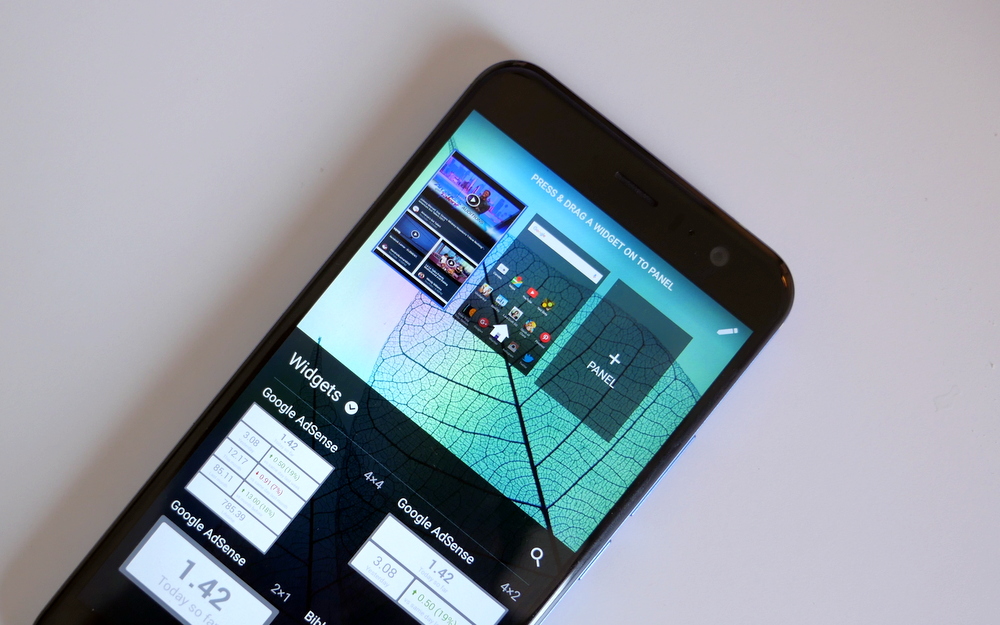
If you’re not a fan of BlinkFeed and don’t want it on your home screen, it’s quite easy to remove. Using two fingers, pink the home screen and you’ll be taken to the home screen panel widget view. Long press the BlinkFeed panel and drag it over to the trash can.
If you ever want to add BlinkFeed back, just pinch anywhere on the home screen again and then tap the plus BlinkFeed panel
12. Reorganize or remove quick toggles
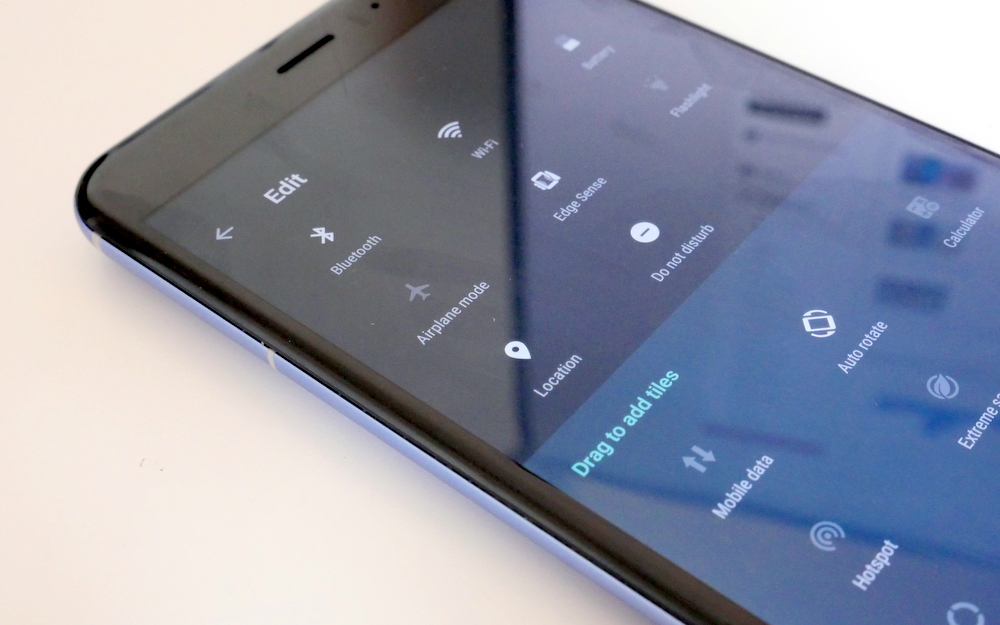
Android’s quick toggles are a life saver if you’re constantly changing settings on your phone. If there are certain ones that you use more than others, you can customize the order they appear in or remove ones that you never seem to use.
To customize them, pull down on the notification share with two fingers and then tap the pencil icon. You’ll then be able to drag and drop the quick toggle icons to rearrange them how you want. If you want to remove one from the list, just drag it to the bottom of the screen.
13. Customize the look and feel with themes
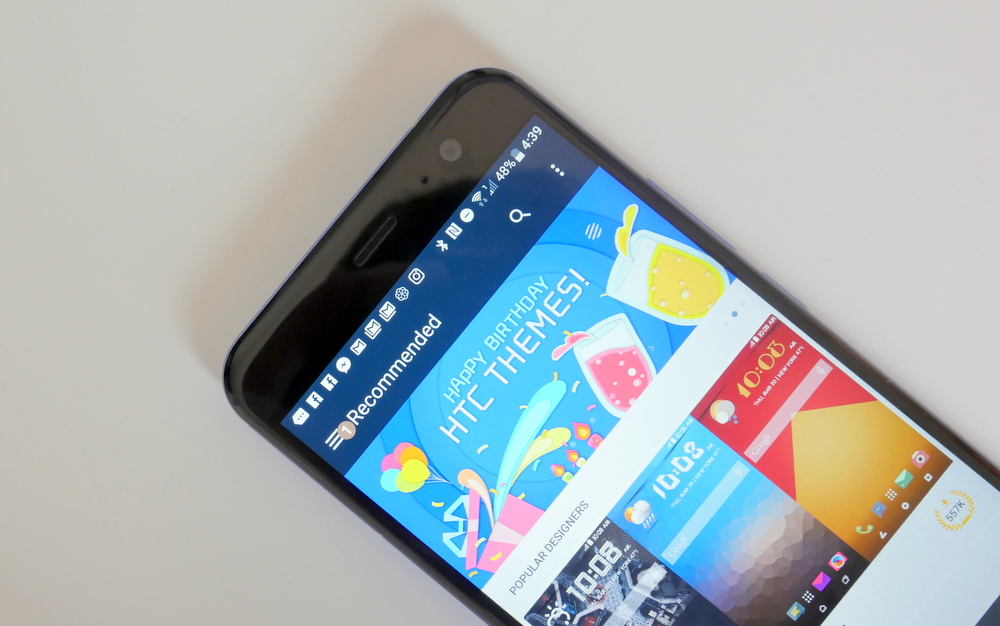
Let’s be honest, HTC Sense looks a bit dated. Fortunately, you can customize the look of the launcher and HTC’s stock apps without having to install a third-party launcher or wallpaper app. Open up themes from the app drawer and browse the different categories.
You can choose a completely new theme or change the wallpaper, icons, fonts or sounds individually. And if you’re feeling adventurous, there’s also freestyle themes which ditch the traditional grid layout for apps and allow you to use pretty much anything you want for individual app icons.